

Manage configured triggers
Configured triggers start workflows on a schedule or in response to an event. The trigger list helps you find which project each trigger belongs to and whether it is enabled.
Before you start
Have a configured trigger and permission to edit its workflow. To create one first, use Triggers and scheduled and event runs. Identify the intended deployment before changing its schedule.
Locate the trigger and workflow
Open Settings → Triggers and locate the configured trigger.
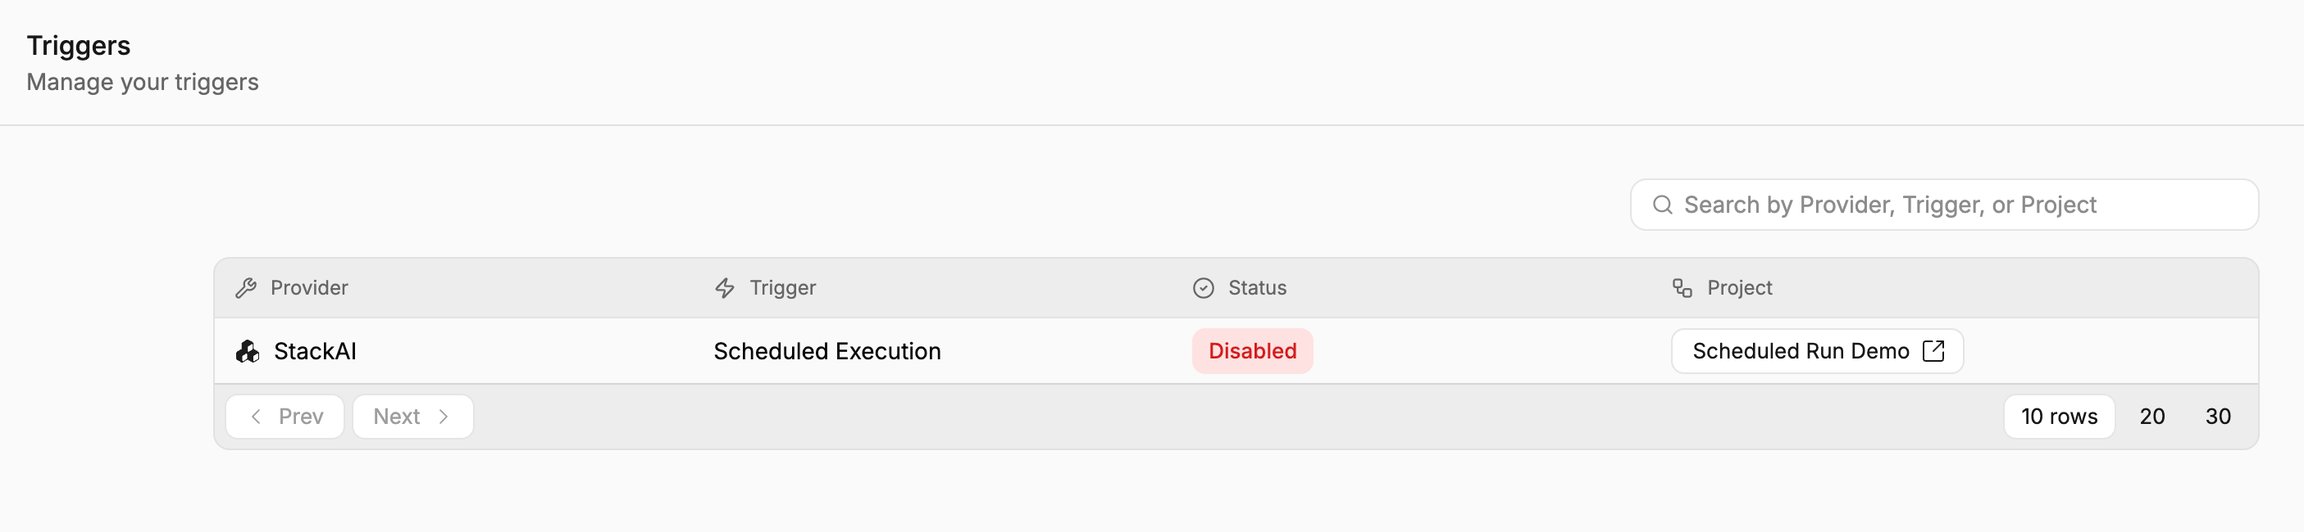
Check its status before assuming a schedule or listener is active.
Open the linked project and inspect its workflow and run history.
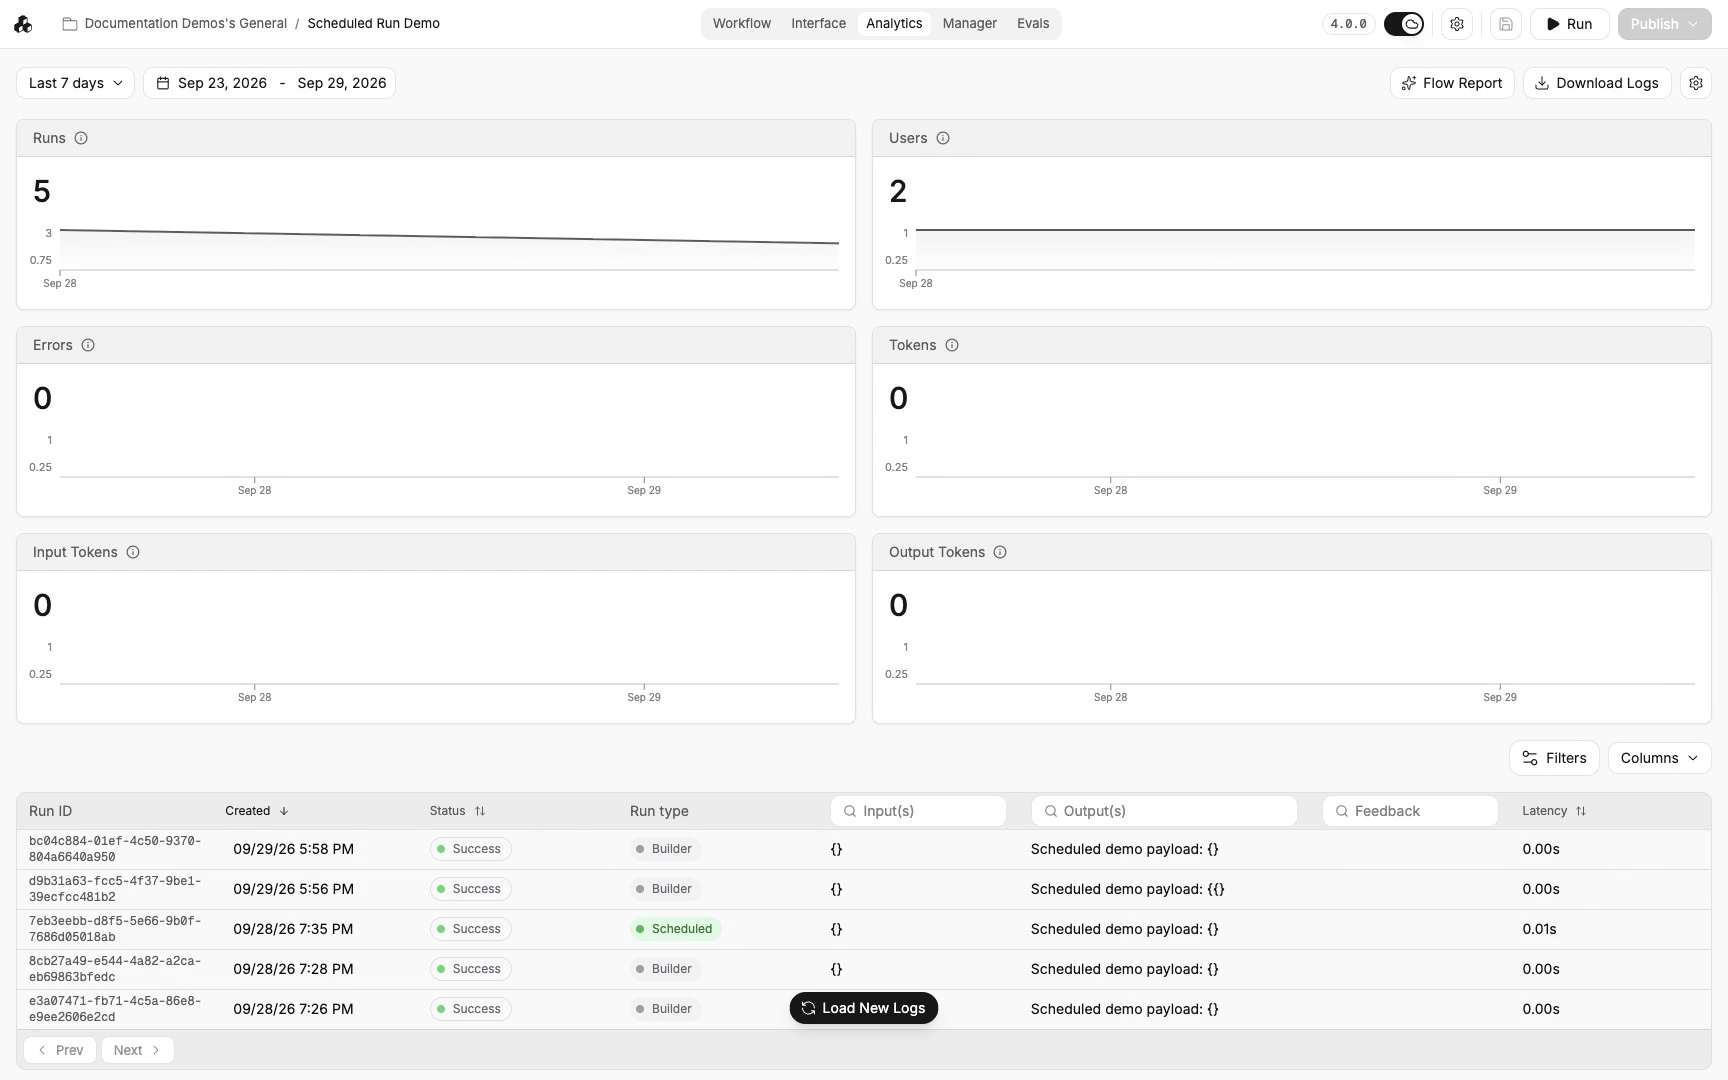
Confirm that the trigger points to the project you intend to maintain.
Change the schedule
Open Scheduled Execution and review frequency, time, and time zone.
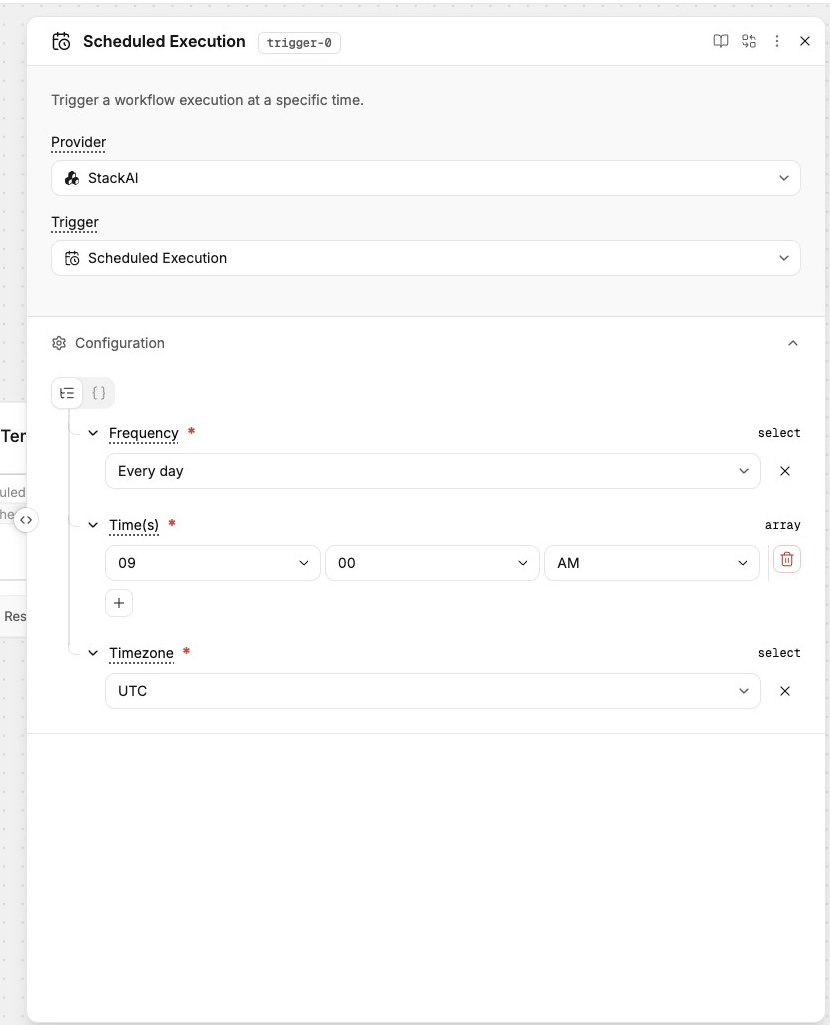
The displayed time zone determines how the scheduled time is interpreted.
Change the schedule fields as required and save the draft.
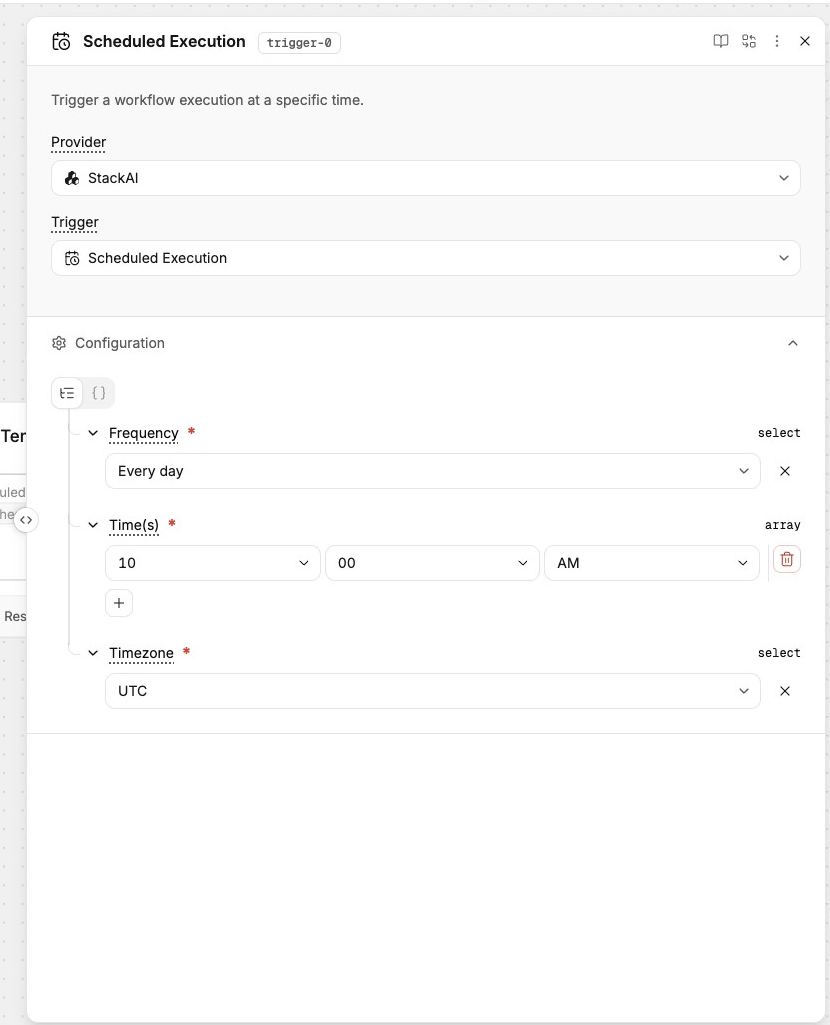
Editing a draft schedule is separate from activating a deployed trigger.
Review the processing path
Run the workflow manually to inspect the processing path.
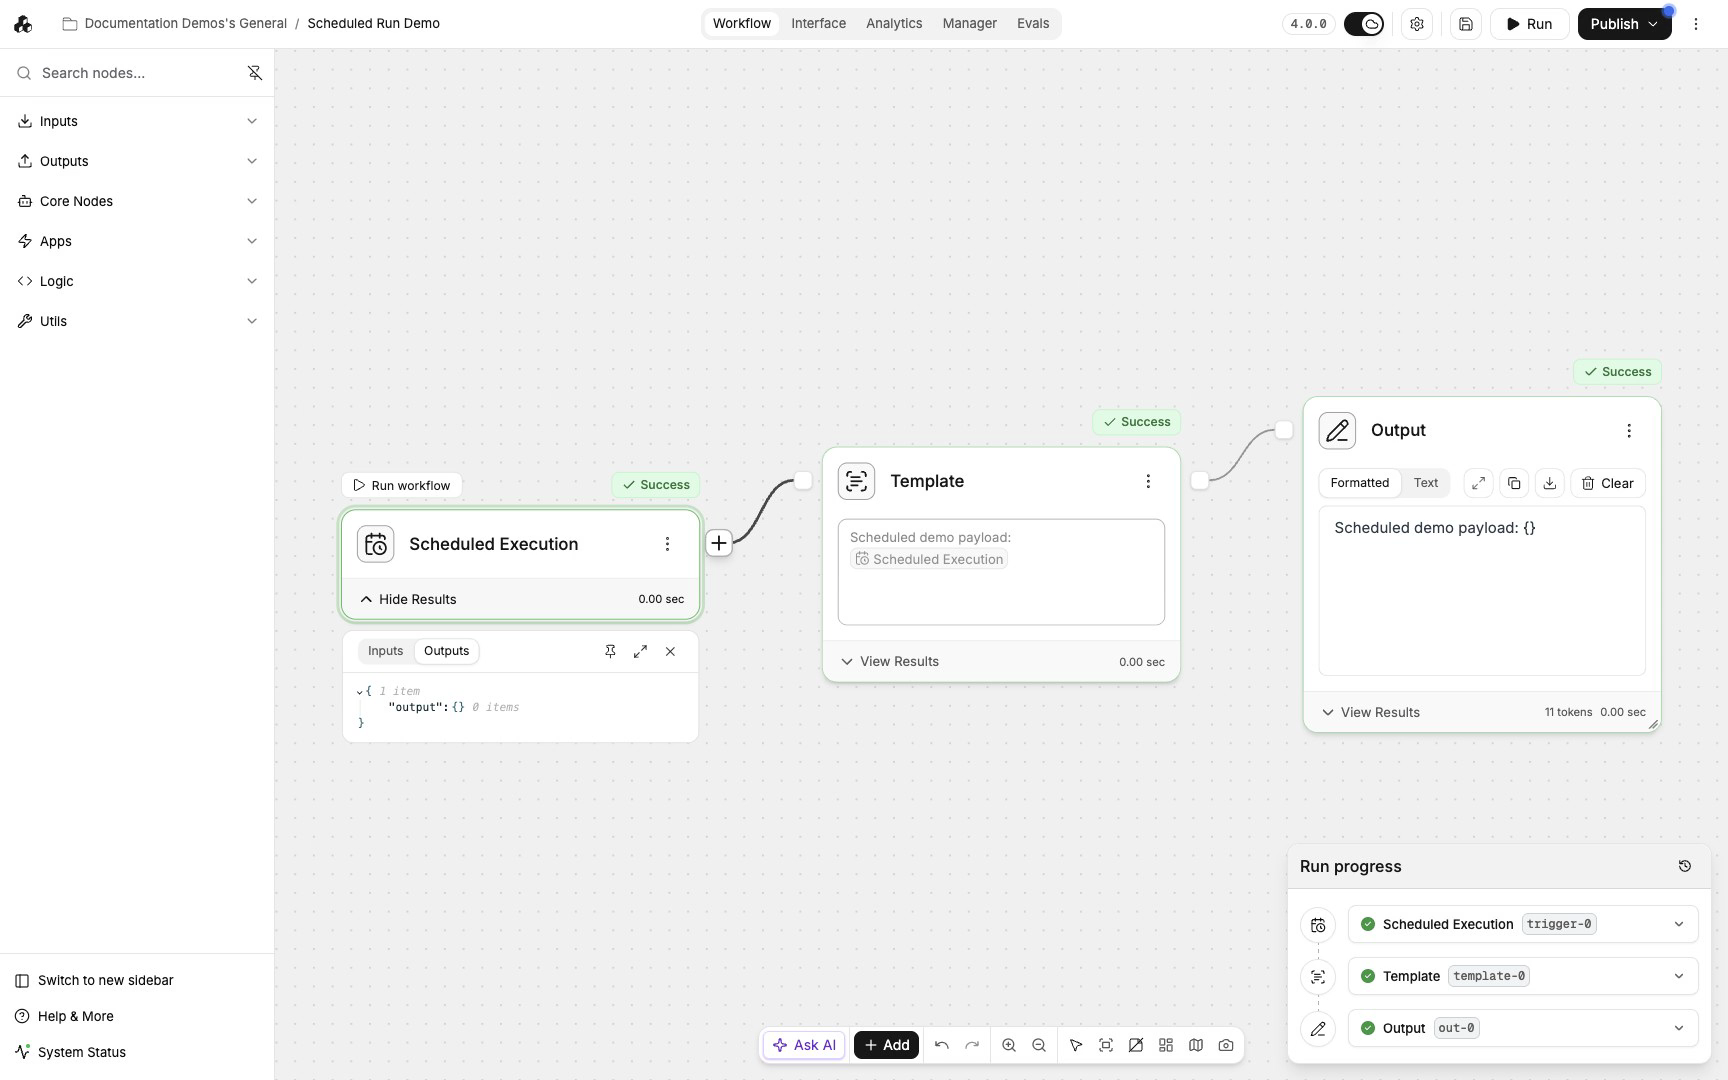
A manual run checks the graph but does not prove that an external trigger fired.
Expand Output and inspect the value passed through from the trigger node.
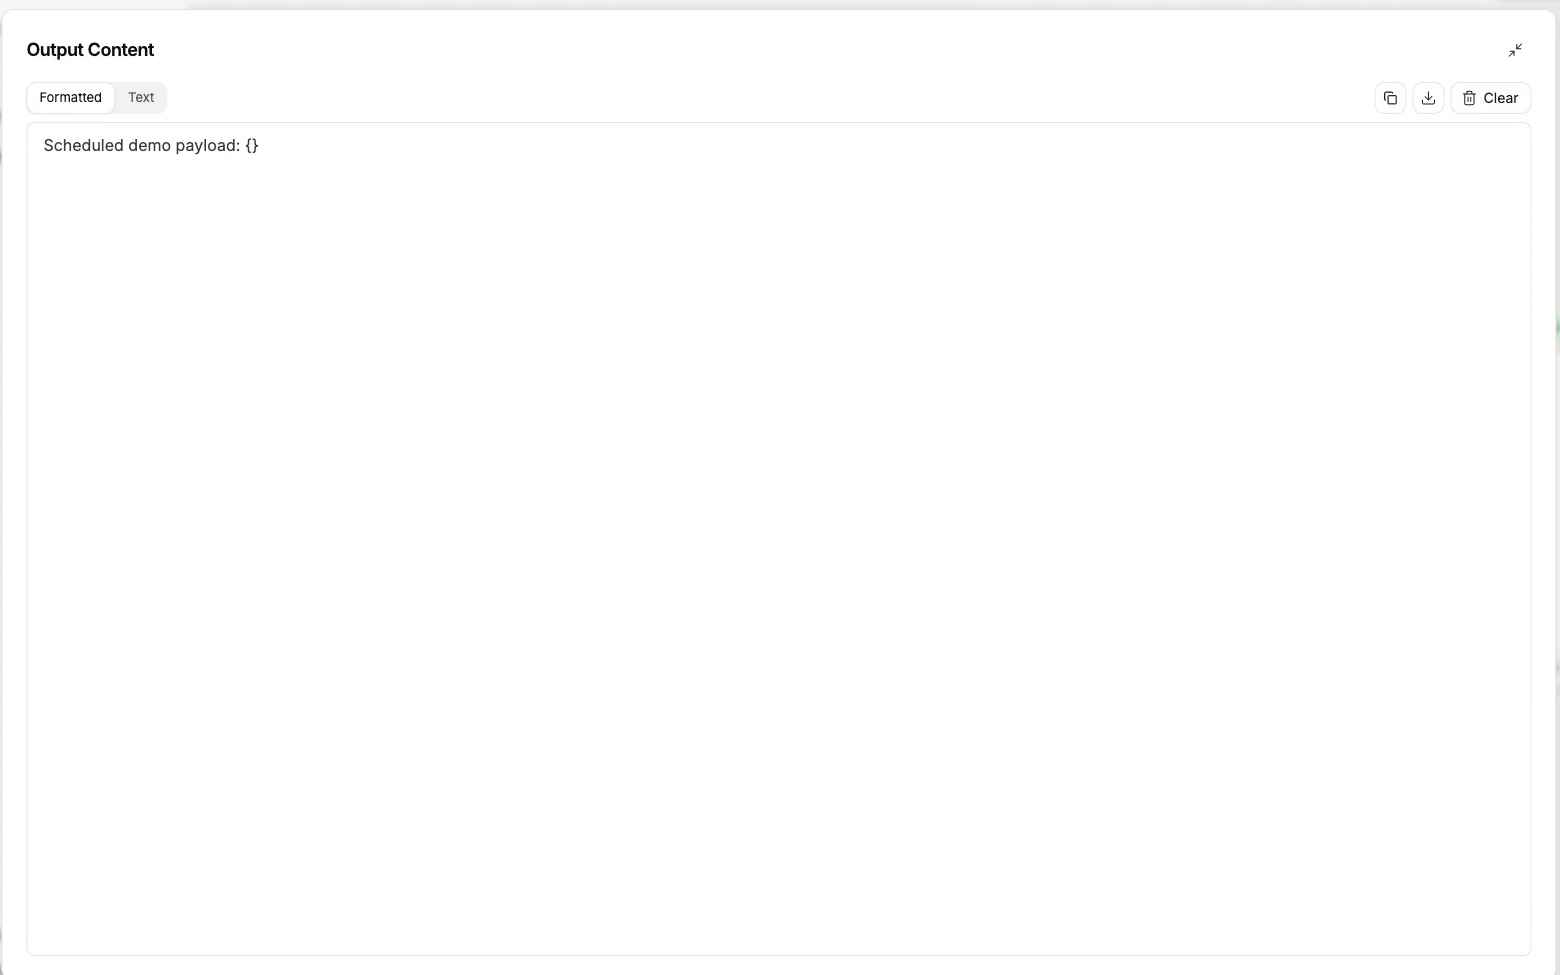
Distinguish a manual result from a run identified as Scheduled in Analytics.
Save and check registration
Review and save the final intended schedule.
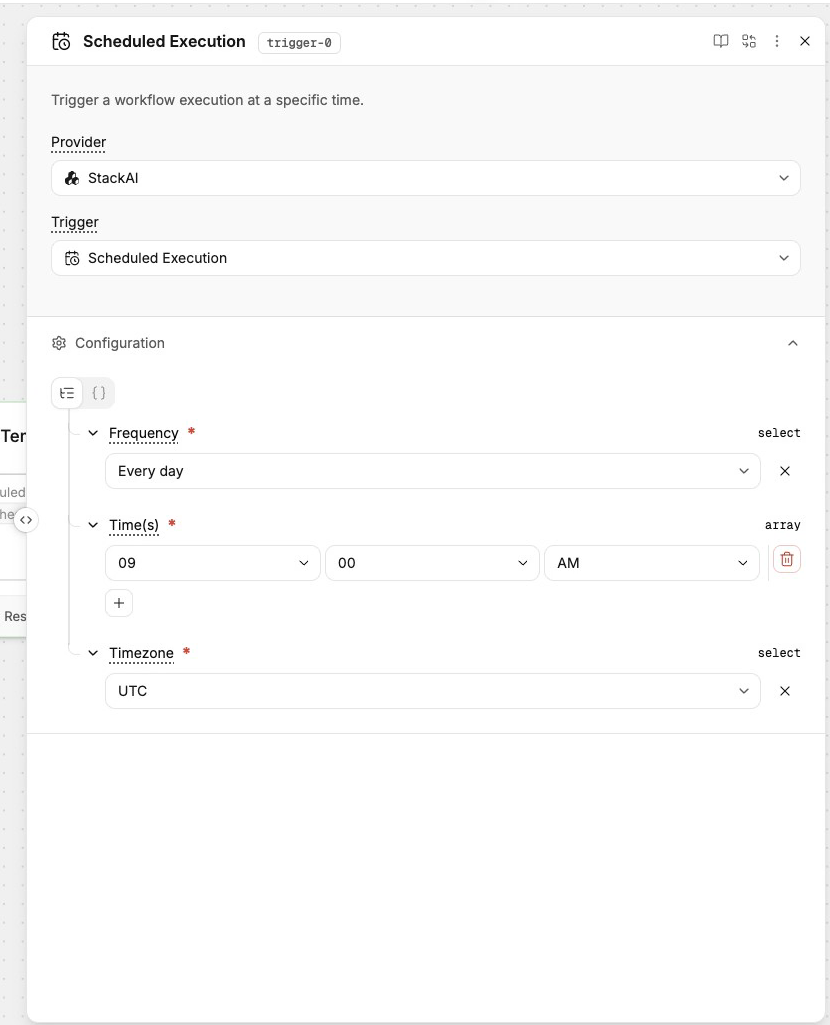
Confirm the time zone as well as the hour before using it for automatic execution.
Return to Settings → Triggers and check the registration status.
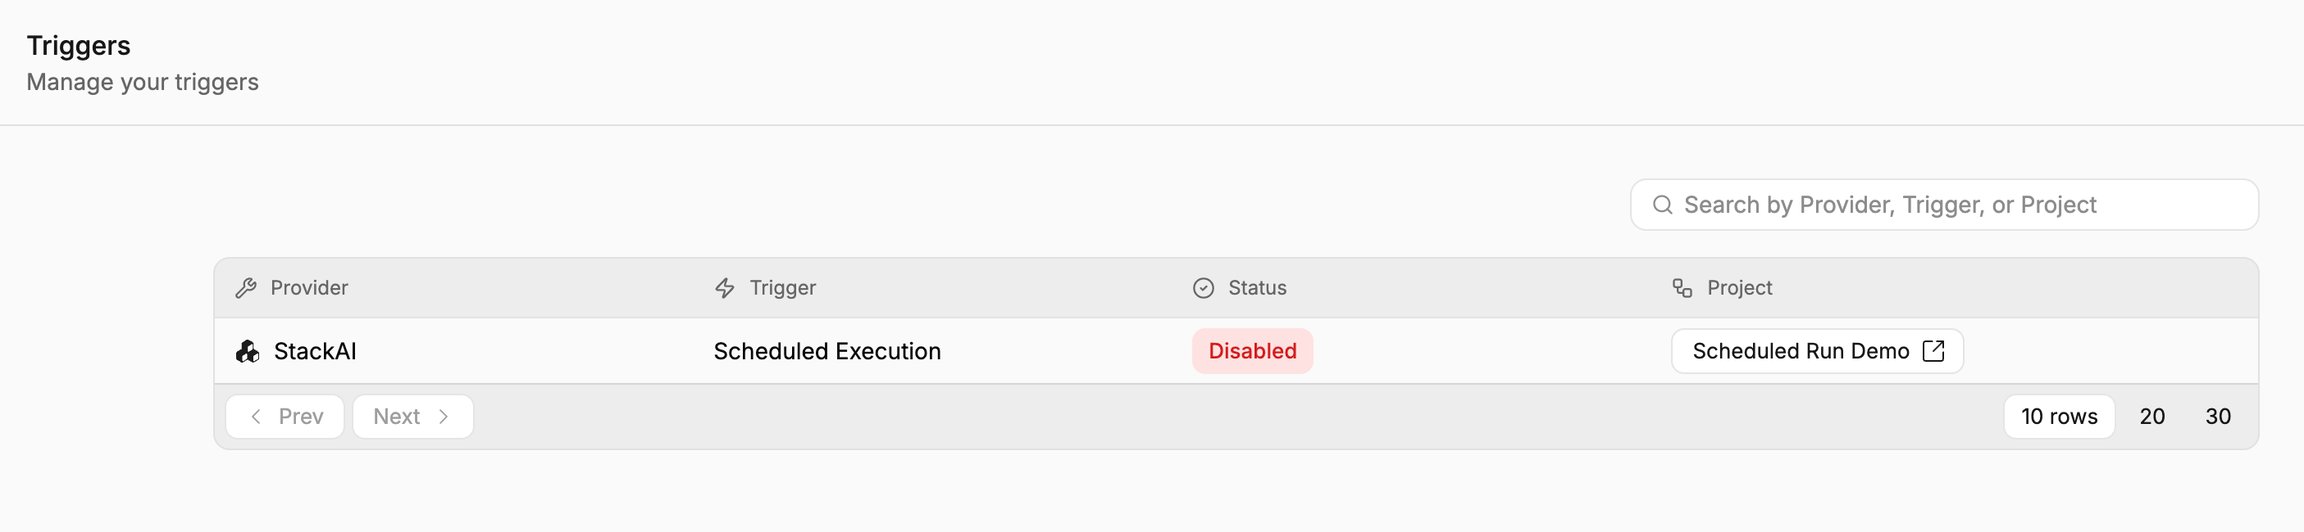
Publication and trigger activation must be reviewed separately from the draft's schedule fields.
Important behavior
A manual run checks the workflow steps. Use a run identified as Scheduled in Analytics to inspect a scheduled execution.
Saving schedule fields in a draft does not activate the deployed trigger. Check publication and registration status separately.
Continue
Last updated
Was this helpful?